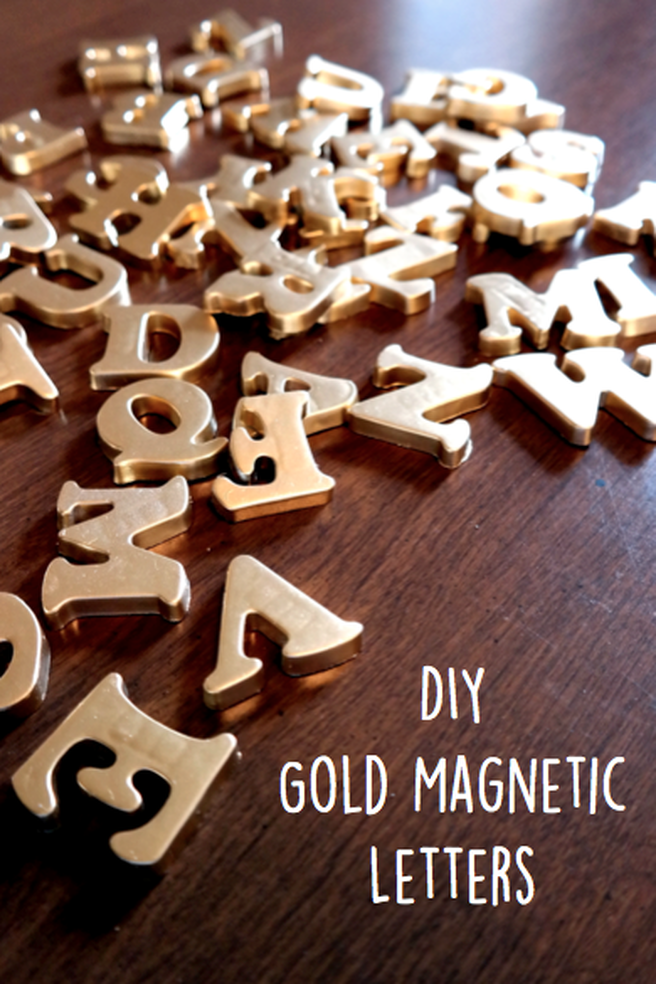
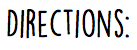
Here in NC, the weather has been confusing that last two weeks. One day it's 20 degrees with a chance of snow, the next it's humid with a high of 54. Colder than I'm used to for sure. I took advantage of the one day we had decent weather this past weekend to do a little spray painting for this fun project. Introducing a DIY of gold. Literally. I saw this idea on Pinterest and couldn't pass up the opportunity for a project that included magnetic alphabet letters from my childhood. And spray painting things is always fun. So without further ado, I present to you one of the easiest DIYs you may ever see.

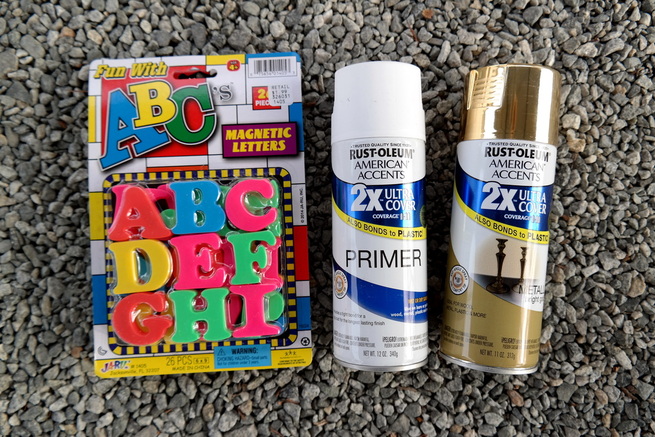
- Magnetic letters
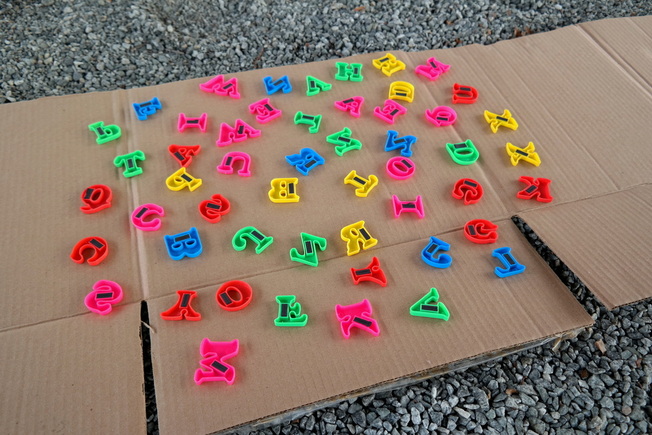
- Plastic primer spray paint
- Gold spray paint.
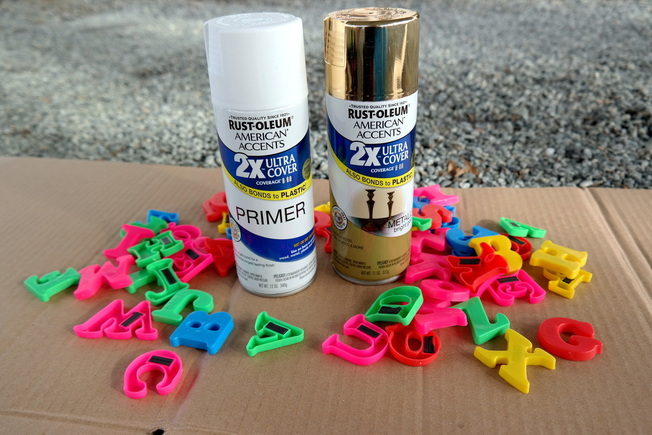
Set up an area outside big enough to lay your cardboard out flat. Spread your letters out on the cardboard with enough space between them to spray paint them evenly. Flip the letters downward to spray the back of them with the primer first. Don't worry about how messy it looks now because you'll be spraying over the magnets anyway - just make sure to spray all sides of the letter evenly. You'll want to spray the back of the letters with two coats of primer, letting it dry in between layers. Once dry, flip the letters over so they are facing up and apply two more coats of primer to the front of them. Repeat with the gold spray paint; once the primer dries from the front of the letters, flip them downward again for two coats of gold, then back over once more for two coats of gold to the front. It's important to allow time for every letter to completely dry in between coats or the paint will smudge (messed a few of mine up because I was a little too excited).
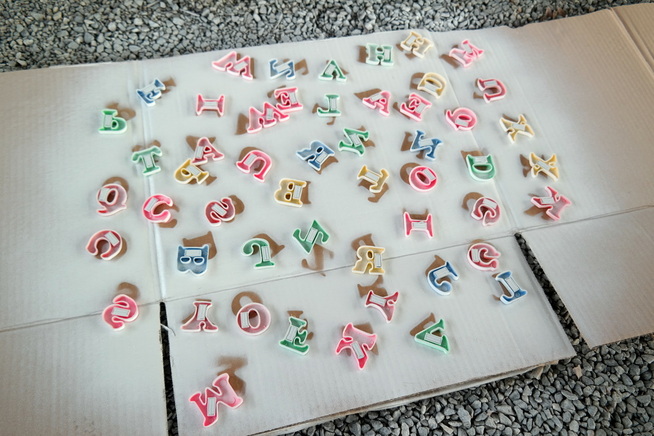
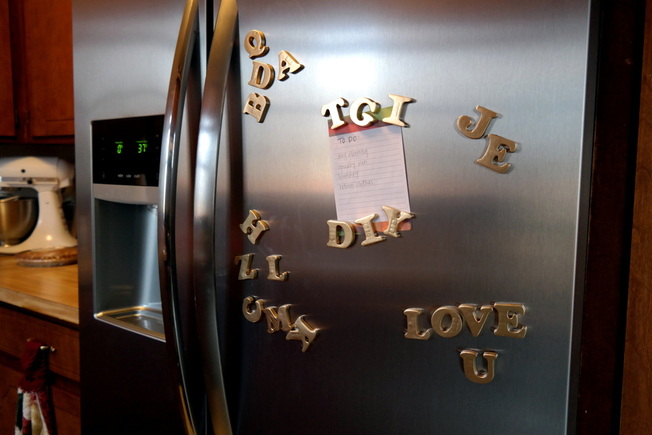
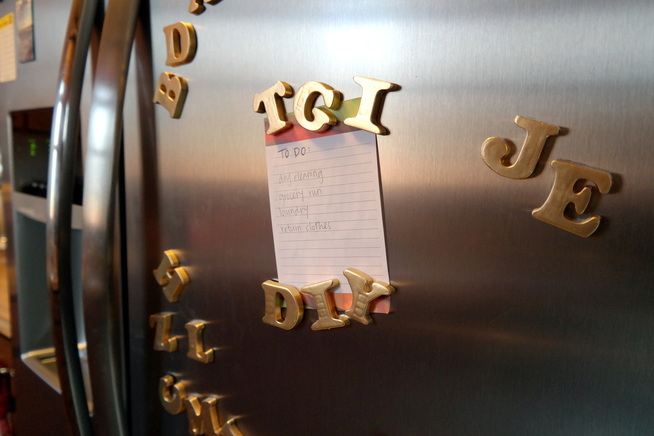
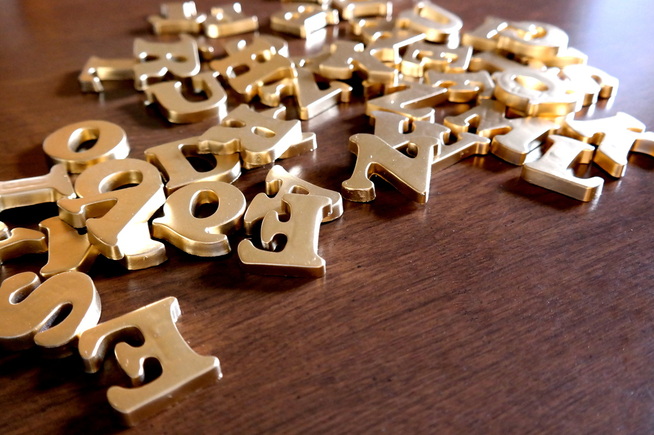
I hope you enjoy this DIY as much as I enjoyed making it! I'm loving seeing mine on the fridge.